Onion Raita is a simple, cooling, and delicious Indian yogurt sauce made with plain yogurt mixed with finely chopped vegetables, or fruits, and herbs.
This refreshing side dish is perfect for balancing hot Indian dishes such as Hyderabadi Mutton Biryani, Dal Palak (Spinach Dal), Tandoori Chicken, and Onion Bhaji (Onion Pakora).
Made with a few basic ingredients, this Onion Raita dish is ready in just 10 minutes!

Jump to:
This simple Indian yogurt recipe has cucumbers and cumin added and is perfect to serve with biryani dishes.
I try to keep things as basic as possible but feel free to play around and create your own cooling raita sauce.
What is Raita?
Raita is plain yogurt or curd-based sauce/dip, made with vegetables such as cucumbers, tomatoes, onions, carrots, or sometimes fruit.
It's also served as a cooling side dish with Indian food.
There are many variations of Raita dip and the most commonly known versions are Onion Raita, Boondi Raita, and Vegetable Raita.

Difference Between Tzatziki (or Cacik) and Raita
Raita is very similar to "Cacik" in Turkey or "Tzatziki" in Greece. They both are yogurt-based side dishes/dips and are flavored with herbs.
- The first difference is consistency. Cacik or tzatziki is usually much thicker than the Indian yogurt dip "raita".
- The second difference is the flavorings. Garlic is used as a flavoring when making tzatziki (or cacik) which is not a common ingredient for the raita sauce. Cumin or chili powder are popular spices for yogurt raita. There is no spice added to tzatziki, it is usually flavored with Mediterranean herbs such as dill or parsley and served with a drizzle of olive oil.
- And the last difference is that tzatziki or cacik only contains cucumbers as vegetables and is always served as a savory side dish or dip. Raita is a more versatile dish with many different vegetables or even fruits, and also can be sweetened.
Ingredients You'll Need
Please scroll down to the recipe card below for the full ingredients list with measurements, complete recipe method, recipe notes, and nutritional information.

- Yogurt - I prefer full-fat plain natural yogurt for its creamy texture and rich flavor but low-fat yogurt works fine too. You can also use Greek yogurt but you need to add a bit of cold water to loosen it up.
- Onions - I use thinly sliced red onions for their strong flavor and beautiful color but feel free to use any onions or even shallots for your veg raita.
- Cucumber - Use fresh cucumbers that are firm and bright in color. I prefer using mini cucumbers or Persian cucumbers as they have a better flavor, are slightly sweeter with tender skins, and contain less water than regular English cucumbers. However, English cucumber will work too as long as you peel and remove the seeds before grating them!
- Cumin seeds - It has a cooling effect and is also a great digestive. It also gives a distinct smokey flavor so I definitely recommend adding some to your raita.
- Mint - I use fresh mint leaves for this cooling Indian yogurt dip made with cucumber and onions. You can use coriander (cilantro) if you prefer. I keep the mint tips for garnishing my biryani raita sauce.
How to Make Onion Raita
This is a very simple, straightforward recipe and to achieve the best results, you need to follow a few simple steps:
If using cumin seeds, toast them lightly to enhance the flavor and crush them into a powder with a mortar and pestle or a grinder.
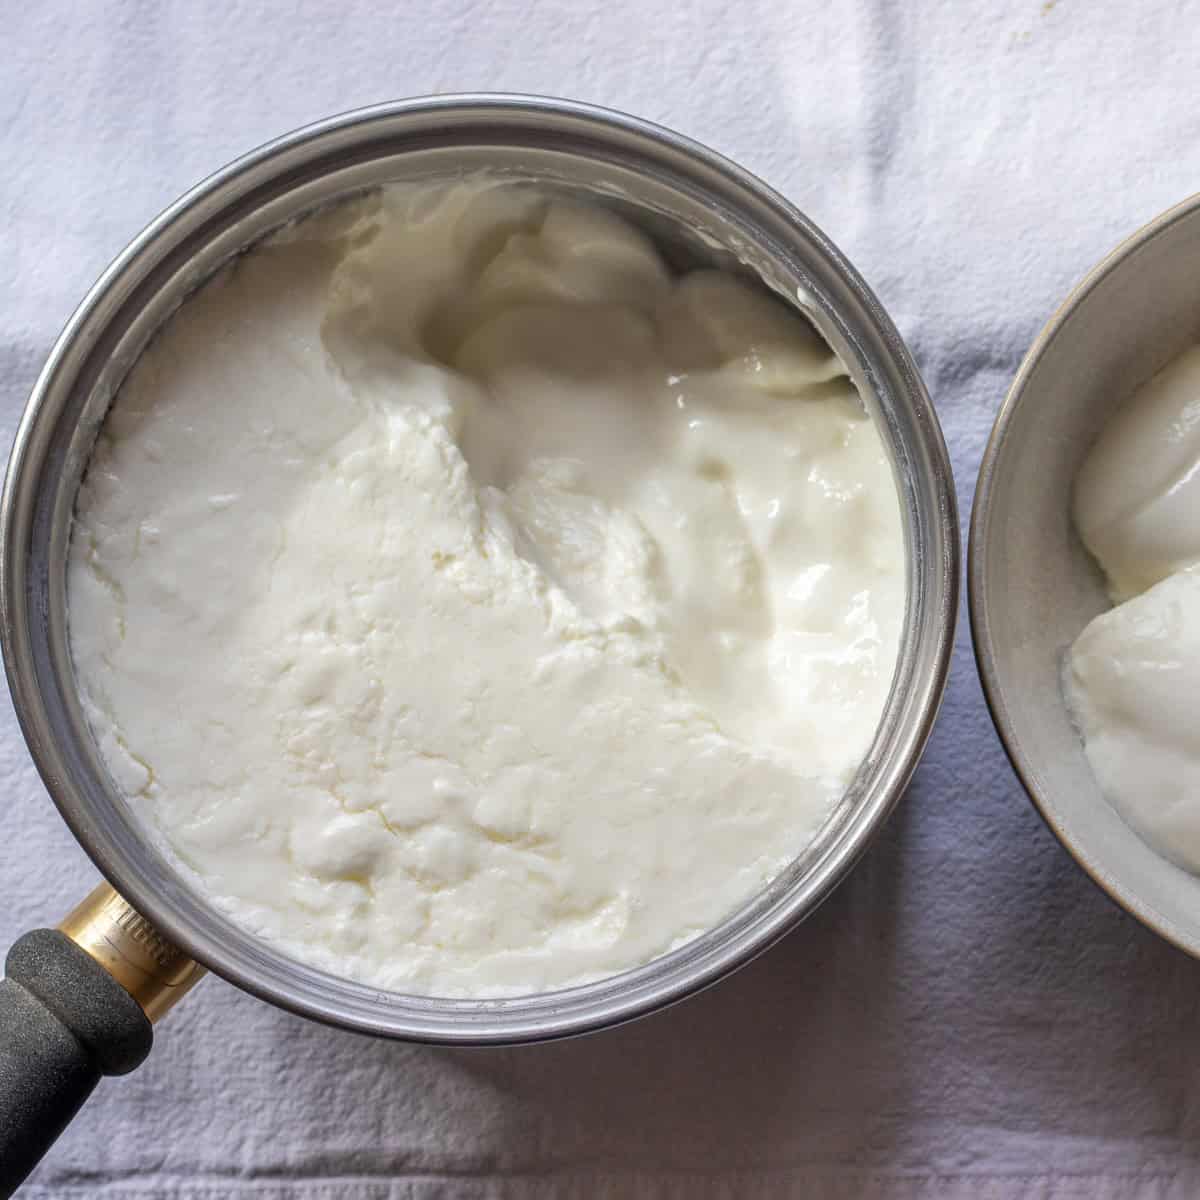
I like using slightly runny natural yogurt for raita but if you have a thick-set yogurt at home, loosen it up by adding some cold water.
Add some salt and whisk for a few seconds until it's nice and smooth.

Peel and grate the cucumber with the thick side of the grater.
Alternatively, you can finely chop it for a crunchier texture.

Peel and finely slice the peeled red onion. Wash and finely chop the herbs before adding them to the yogurt.
If using mint, save the nice small tips for garnishing. Add them to the yogurt.

Mix all the ingredients in a large bowl and stir until nicely combined.
Spoon in a serving bowl(s) and garnish with mint tips.

Top Tips From the Chef
- If you want to add some heat to your raita, spice it up with a few finely chopped green chilies or serrano peppers.
- If your yogurt is thin, give the cucumber a bit of a squeeze before adding it to the yogurt. If the yogurt is too thick, carefully add a few splashes of water to thin it. You want your raita to be runny, but not liquid.
Serving Suggestions
You can eat Onion Raita with many Indian dishes such as Yellow Rice (Indian Turmeric Pilau Rice), Butternut Squash and Chickpea Curry, Hyderabadi Mutton Biryani, Onion Bhaji (Onion Pakora), Mushroom Rice (Mushroom Pilau), Guyanese Oil Roti, or Pakistani Roghni Naan.
You can also serve it as a dip or use it for sandwiches &wraps.
Recipe FAQs
You can keep the leftovers refrigerated for up to three days in an airtight container. Make sure to give it a good stir before serving. I don't recommend freezing this Indian mint yogurt sauce as both cucumber and onions will lose their texture.
You don't have to peel your cucumbers to make raita. I prefer peeling mine but it is a personal choice. Make sure to wash the cucumber thoroughly if you want to grate it without peeling it.
Related Recipes
For more delicious Indian-inspired recipes why not try:


Did you make this recipe? Please let me know how it turned out! Leave a comment below and tag @cookingorgeous on Instagram and hashtag it #cookingorgeous.
I hope you enjoy the process of making this cooling dip "Onion Raita" as much as you enjoy eating it! 🙂
Bon appétit! / Afiyet olsun!
Want to Save This Recipe?
Enter your email & I'll send it to your inbox. Plus, get great new recipes from me every week!
By submitting this form, you consent to receive emails from Cooking Gorgeous

Onion Raita
Equipment
- 1 kitchen scale
- 1 measuring spoons
- 1 whisk
- 1 Sharp knife
- 1 mortar and pestle
Ingredients
- 300 g Plain natural yogurt
- ¼ cup cucumber (peeled and grated)
- ¼ red onion (finely sliced)
- 1 tablespoon fresh mint leaves (finely chopped)
- ½ teaspoon cumin seeds or cumin powder
- ¼ teaspoon salt
- mint tips (to garnish)
Instructions
- If using cumin seeds, toast them lightly to enhance the flavor and crush them into a powder with a mortar and pestle or a grinder.
- Put the yogurt in a large enough bowl along with the cumin and a pinch of salt to season, and whisk until smooth.
- Add grated cucumber, sliced red onions and chopped fresh mint leaves.
- Give it a good stir to nicely combine the ingredients and taste the seasoning. Add more salt if needed.
- Pour into serving bowls, garnish with mint tips and keep in the fridge until needed.
Notes
- If you want to add some heat to your raita, spice it up with a few finely chopped green chilies or serrano peppers.
- You don't have to peel your cucumbers for making raita. I prefer peeling mine but it is a personal choice.
- If your yogurt is thin, give the cucumber a bit of a squeeze before adding them to the yogurt. If the yogurt is too thick, carefully add a few splashes of water to thin it. You want your raita to be runny, but not liquid.
- You can keep the leftovers refrigerated for up to three days in an airtight container.
Nutrition
This post uses affiliate links. This means that if you click on them and then buy something, we get a small amount of commission to keep the site running, but it doesn’t cost you anything more.
Aisha says
This recipe is simple and delicious. Made alongside the tandoori chicken also on this site.