Kadaif Dessert, (or Turkish Tel Kadayif), is a popular and unique Turkish dessert typically served during the holy month of Ramadan. It is made with layers of crispy, shredded filo pastry base filled with a rich and nutty walnut mixture, and then baked until crispy. The dessert is then soaked in a sweet syrup, adding an extra layer of flavor and moisture.

The combination of textures and flavors makes this dessert a truly special and unforgettable experience. If you're a fan of nuts and sweet treats, Kadaif Dessert is definitely a must-try.
Jump to:
Turkish cuisine offers a variety of delightful and unique desserts that are perfect for satisfying your sweet cravings.
Our family favorites include syrup-soaked desserts like Revani - Turkish Semolina Cake, Irmik Helvasi (Turkish Semolina Halva), Capirotada - Mexican Bread Pudding, Tulumba - Turkish Fried Dough Dessert, Qatayef - Middle Eastern Stuffed Pancakes, and Kunefe-Kunafa (Turkish Cheese Dessert).

Kadaif dessert has been present for centuries across the Middle East, Mediterranean, and Turkey. The earliest recipe for kadaif was found in a 15th-century Ottoman cookbook called "Melceü’t-Tabbâhîn". It was called "tel kadayif" and was made with shredded wheat, honey, and pistachios.
Why This Recipe Works?
- Making Kadaif Dessert is much easier compared to Homemade Turkish Baklava and doesn't require much culinary experience.
- You only need a few ingredients and 10 minutes of hands-on time to make this delicious Tel Kadayif.
- The leftovers would be kept for up to 5 days at room temperature. Although the texture wouldn't be as crispy as the first day, it would still be delicious!
- You can serve Turkish Tel Kadayif as a dessert after a meal topped with a scoop of Homemade Turkish Ice Cream, a dollop of Turkish Kaymak, or ground pistachio. It is also great when served as a snack along with a cup of tea or Salep - Turkish Hot Milk Drink (Sahlab).
Ingredients You'll Need
Please scroll down to the recipe card below for the full ingredients list with measurements, complete recipe method, recipe notes, and nutritional information.

Kadaif Pastry
Kadayif is a shredded dough, pushed through a sieve to form delicate strands, which look like vermicelli. It is a popular ingredient in the Mediterranean and Middle Eastern countries, mainly for making desserts.
You can find kadayif fresh or frozen in Turkish/Middle Eastern shops. If frozen, place it in the refrigerator overnight to gently thaw it before using. Alternatively, you can buy it online from Amazon.
Other than the kadaif pastry, you'll need to gather a few more things:
- Butter - Use good quality unsalted butter for the best results. You can substitute it with ghee.
- Sugar - Both caster sugar and granulated sugar work perfectly for the syrup.
- Walnuts - Lightly toast them in the oven and crush them before using. You can substitute walnuts with pecan nuts or pistachio nuts.
How to Make Kadaif Dessert - Turkish Tel Kadayif?
Although making Kadaif Dessert is very easy, you need to follow a few simple steps to achieve the best results:
Prepare the Syrup
Preheat your oven to 350° F (180° C). Grease a 12" x 9" x 2.5" (32cm x 24cm x 6cm) tray with butter, and set it aside. Start by preparing the simple syrup and let it cool down while building the kadaif. Place the water and sugar in a pan and put on medium heat.
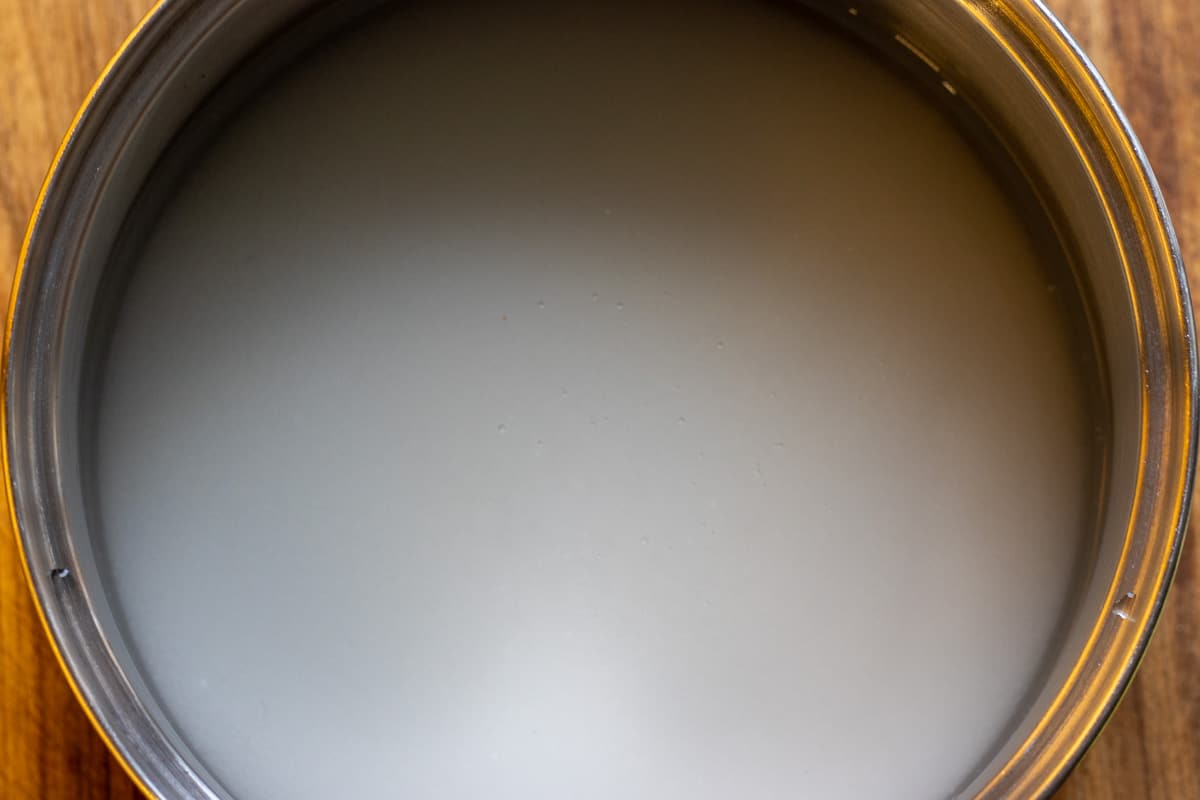
Stir it until the sugar dissolves, bring it to a boil, and let it gently simmer for 15 to 20 minutes.

Add a few drops of lemon juice, let it simmer for a few more minutes, and then remove the pan from heat.
Build the Kadaif Layers
Unwrap the kadaif pastry and separate the strands with your fingers. Be sure to remove any clumps or knots that you come across.

Melt the butter in a saucepan or in the microwave and pour the melted butter over the pastry.

Mix well, making sure that all the strands are coated with butter.

Take half of the kadaif pastry and press it down firmly with the bottom of a bowl into the baking dish, making sure to cover the entire bottom.

Evenly spread the chopped walnuts over the pastry base.

Top the walnut filling with the rest of the kadaif pastry, pressing down firmly to create a smooth surface.

Bake the Kadaif and Soak it in the Syrup
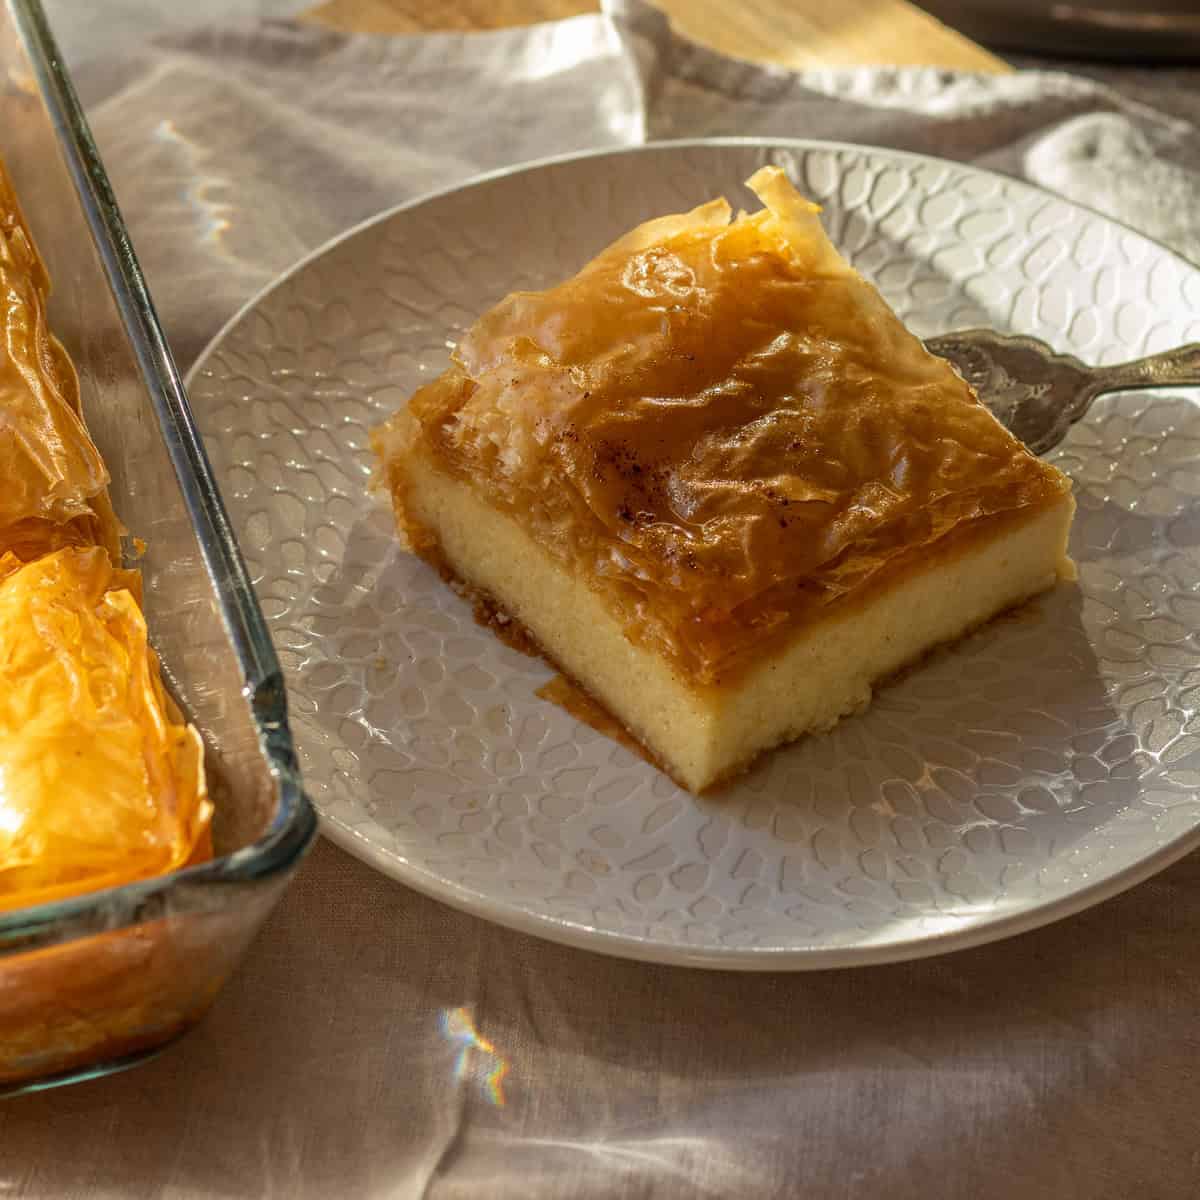
Bake the kadaif in the preheated oven for 35-40 minutes, or until the top is golden brown and crispy. Once the kadaif is done, remove it from the oven, and portion it into 12 equal pieces using a sharp knife.

Pour the cooled syrup over the kadayif, making sure to cover every piece. Leave the kadaif at room temperature until it has completely cooled down and soaked up the syrup entirely before garnishing and serving.

Top Tips From the Chef
- If using frozen kadaif pastry, place it in the refrigerator overnight to gently thaw it before using.
- Chop the walnuts finely, without turning them into a paste or powder.
- Make sure that every strand is completely coated with butter to ensure even baking and achieve the perfect crispness.
- Let the syrup completely cool down before pouring it over the kadaif. This will help the kadaif absorb the syrup evenly and prevent it from becoming too soggy.
- To ensure that the syrup is absorbed evenly, divide the kadaif into portions before adding the syrup.
How to Serve Kadaif?
Just like Homemade Elderflower Turkish Delight (Lokum), the Kadaif Dessert - Turkish Tel Kadayif is typically served as a snack with a cup of Turkish Tea or Turkish Coffee. You can also serve this delicious kadaif as a dessert after dinner along with a scoop of vanilla ice cream or a dollop of kaymak / clotted cream. Whether you serve Kadaif as a snack or as a dessert after dinner, don't forget to sprinkle ground pistachios over it!
Recipe FAQs
Yes, you can make the Tel Kadaif ahead of time and store it at room temperature for up to 5 days.
Yes, you can use other types of nuts, such as pistachios or almonds, instead of walnuts if you prefer.
Yes, you can freeze the leftovers and keep them in the freezer for up to 3 months. Make sure to wrap them individually in plastic wrap and place them in an airtight container before freezing.
Related Recipes
For more delicious syrup-soaked dessert recipes why not try:


Did you make this recipe? Please let me know how it turned out! Leave a comment below and tag @cookingorgeous on Instagram and hashtag it #cookingorgeous.
I hope you enjoy the process of making this deliciously unique Turkish Dessert "Tel Kadaif - Kadayif" as much as you enjoy eating it! 🙂
Bon appétit! / Afiyet olsun!
Want to Save This Recipe?
Enter your email & I'll send it to your inbox. Plus, get great new recipes from me every week!
By submitting this form, you consent to receive emails from Cooking Gorgeous

Kadaif Dessert - Turkish Tel Kadayif
Equipment
Ingredients
- 1 ⅙ lb kadaif pastry (500 grams)
- 7 oz butter (200 grams)
- 7 oz chopped walnuts or pistachio (200 grams)
- 1 ¾ cups sugar (350 grams)
- 2½ cups water (600 ml)
- few drops of lemon juice
- ground pistachio, ice cream or kaymak to garnish
Instructions
Preparing the Syrup
- Preheat your oven to 350°F (180° C).
- Grease a 12" x 9" x 2.5" (32cm x 24cm x 6cm) tray with butter, and set it aside.
- Start with preparing the simple syrup and let it cool down while building the kadaif.
- Place the water and sugar in a pan and put on medium heat.
- Stir it until the sugar dissolves, bring it to a boil, and let it gently simmer for 15 to 20 minutes.
- Add a few drops of lemon juice, let it simmer for a few more minutes, and then remove the pan from heat.
Building the Kadayif Layers
- Unwrap the kadaif pastry and separate the strands with your fingers. Be sure to remove any clumps or knots that you come across.
- Melt the butter in a saucepan or in the microwave. Pour the melted butter over the pastry and mix well, making sure that all the strands are coated with butter.
- Take half of the kadaif pastry and press it down firmly with a bottom of a bowl into the baking dish, making sure to cover the entire bottom.
- Evenly spread the chopped walnuts over the pastry base.
- Top the walnut filling with the rest of the kadaif pastry, pressing down firmly to create a smooth surface.
Baking and Soaking in Syrup
- Bake the kadaif in the preheated oven for 35-40 minutes, or until the top is golden brown and crispy.
- Once the kadaif is done, remove it from the oven, and portion it into 12 equal pieces using a sharp knife.
- Pour the cooled syrup over the kadayif, making sure to cover every piece.
- Leave the kadaif at room temperature until it has completely cooled down and soaked up the syrup entirely before garnishing and serving.
Notes
- If using frozen kadaif pastry, place it in the refrigerator overnight to gently thaw it before using.
- Chop the walnuts finely, without turning them into a paste or powder.
- Make sure that every strand is completely coated with butter to ensure even baking and achieve the perfect crispness.
- Let the syrup completely cool down before pouring it over the kadaif. This will help the kadaif absorb the syrup evenly and prevent it from becoming too soggy.
- To ensure that the syrup is absorbed evenly, divide the kadaif into portions before adding the syrup.
- You can make the Tel Kadaif ahead of time and store it at room temperature for up to 5 days.
- You can freeze the leftovers and keep them in the freezer for up to 3 months. Make sure to wrap them individually in plastic wrap and place them in an airtight container before freezing.

Sana says
Looks scrumptious! Definitely trying this soon.