
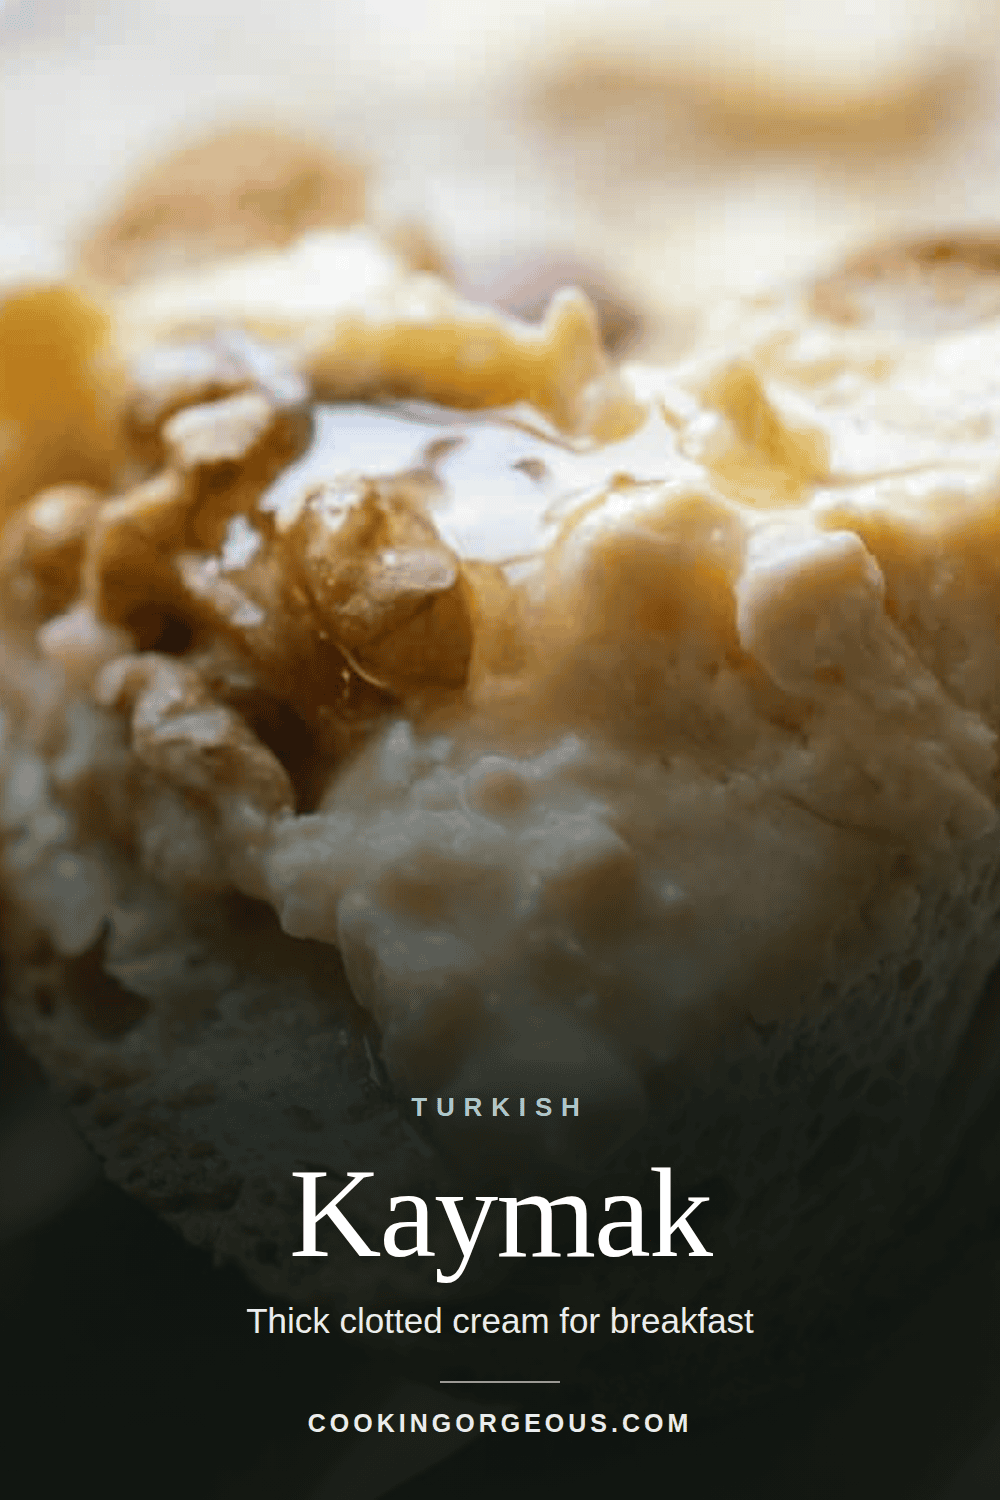
Kaymak with honey and warm Sourdough Bread is one of my favorite things to put on a Turkish breakfast table. Fresh kaymak is not always easy to find outside Turkey, so I wanted to make a homemade version that gives you the same thick, fresh dairy cream at home.

It does take time, but there is very little actual work. Once the milk and cream are gently heated, you leave the pan alone, chill it overnight, and collect the thick layer the next day.
Jump to:
- What Is Turkish Kaymak?
- Is Kaymak the Same as Clotted Cream?
- What About Geymar and Kajmak?
- Ingredients You'll Need
- Equipment You’ll Need
- How to Make Turkish Kaymak
- How Long Does Turkish Kaymak Take?
- Recipe Tips From the Chef
- Common Problems and How to Fix Them
- How to Serve Turkish Kaymak
- Make Ahead and Storage
- Recipe FAQs
- Related Recipes
- Turkish Kaymak Recipe
I make it ahead when I want something a little different for breakfast or when I am making one of the Turkish desserts that is best with kaymak on the side.

What Is Turkish Kaymak?
Kaymak is a traditional Turkish dairy product made by heating milk slowly until a thick layer forms on top. It is usually made with buffalo milk or cow’s milk and is often compared to clotted cream.
The best known version comes from Afyonkarahisar, where kaymak is traditionally made with buffalo milk. Buffalo milk has more fat than cow’s milk, which gives the finished kaymak its thicker texture and pale color.
My recipe is a practical home version made with whole milk and heavy cream. It follows the same slow method but uses ingredients that are easier to find in the UK and the United States.
You may also come across related names such as geymar, qaymar, or kajmak. These are similar dairy foods found in Iraq, the Balkans, and nearby regions, but the method and finished texture can be different.

Is Kaymak the Same as Clotted Cream?
Kaymak and clotted cream are similar, but they are not exactly the same.
Both are made by heating dairy slowly until a thick layer rises to the surface. English clotted cream is usually made from cream, while Turkish kaymak is traditionally made from milk, often buffalo milk.
You can serve kaymak in many of the same ways as clotted cream. Spread it on warm bread, spoon it over fruit, or serve it with honey or Strawberry Rhubarb Jam.

What About Geymar and Kajmak?
Geymar, also called qaymar, is a related Iraqi breakfast cream. It is often served with kahi, a flaky fried pastry, as well as honey or date syrup.
Kajmak is a related dairy product found in the Balkans. The names are connected, but the method, texture, and flavor can change from place to place.
I use the name Turkish kaymak for this recipe because it follows the Turkish style of serving it with honey, bread, and Turkish desserts.
Ingredients You'll Need
Please scroll down to the recipe card below for the full ingredients list with measurements, complete recipe method, recipe notes, and nutritional information.

- Milk - Use whole milk, also called full-fat milk in the UK. Do not use skim milk, reduced-fat milk, or semi-skimmed milk, as they do not have enough fat for this recipe. Pasteurized whole milk works well here. I use it with heavy cream to give the mixture the fat it needs to form a thick layer.
- Cream - Use heavy cream with at least 35% fat. For UK readers, double cream is the best choice. Do not use light cream, half and half, single cream, or whipped topping. They do not have enough fat to make kaymak properly.
Equipment You’ll Need
Use a wide, heavy bottomed pan with a large surface area. The wider the pan, the more room there is for the thick layer to form.
You will also need a skimmer, slotted spoon, or wide spatula to lift the kaymak from the pan. A fine mesh sieve helps drain away any extra liquid after chilling.
Keep a clean airtight container ready for storing the finished kaymak.
How to Make Turkish Kaymak
Heat the Milk and Cream
Pour the whole milk and heavy cream into a wide, heavy bottomed pan.
Place the pan over medium heat and warm the mixture until you see small bubbles around the edges. It should reach 175°F to 185°F, or 80°C to 85°C.
Do not let it come to a fast boil. The dairy should heat gently.

Reduce the heat to very low and leave the pan uncovered. Do not stir the milk and cream.
Let it sit over the low heat for 2½ hours. A thick layer will slowly form on the surface.
Try not to move the pan too much. The layer is delicate, and stirring or shaking the pan can break it before it has time to set.

Cool and Chill Overnight
Remove the pan from the heat and leave it to cool for up to 1 hour.
Cover the pan and place it in the refrigerator for at least 12 hours. The chilling time helps the layer firm up, which makes it easier to lift without breaking.
Lift and Drain the Kaymak
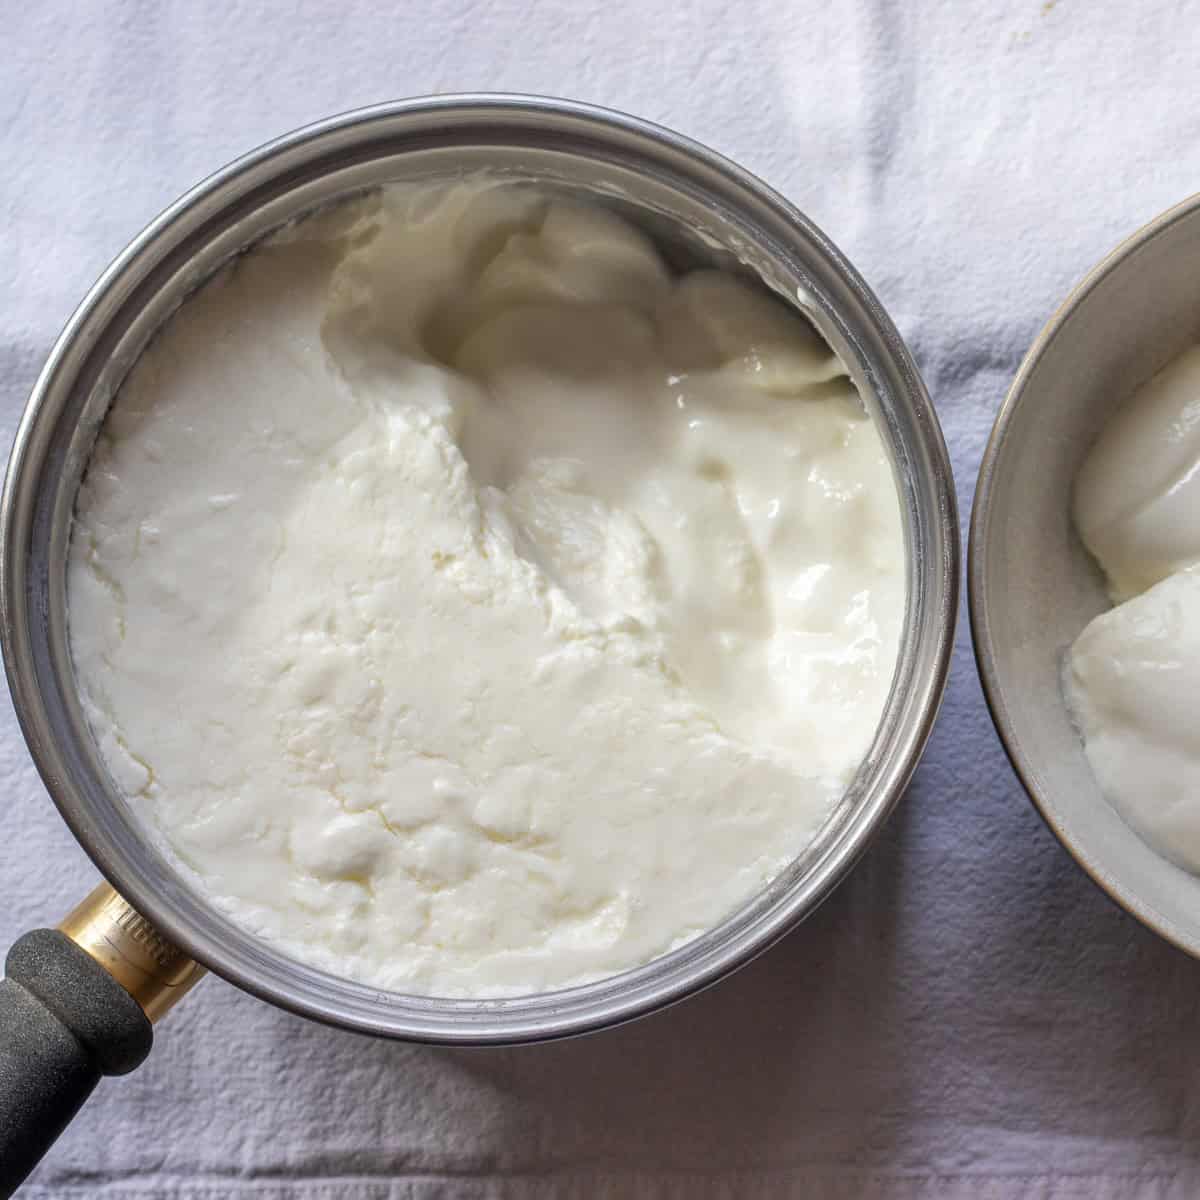
Use a skimmer, slotted spoon, or wide spatula to lift the thick layer from the surface.
Place it in a fine mesh sieve set over a bowl. Cover it and leave it in the refrigerator until any extra liquid has drained away.
Transfer the drained kaymak to a clean airtight container.
Make the Second Batch
Return the remaining milk and cream liquid to the wide pan.
Repeat the same process. Heat it gently, leave it over low heat for 2½ hours without stirring, cool it, chill it overnight, then lift and drain the second layer.
The second batch will be thinner than the first, but it is still very good. You can fold both batches together gently or keep them separate.

How Long Does Turkish Kaymak Take?
The first batch needs 2½ hours on the stove, followed by at least 12 hours in the refrigerator.
This recipe includes a second batch using the remaining milk and cream, so it takes around two days in total. Most of that time is waiting for the kaymak to form, chill, and drain.
You can stop after the first batch if you only need a small amount. Make the second batch when you want to get the most out of the milk and cream mixture.
Recipe Tips From the Chef
- Use a wide pan. A narrow saucepan gives you less surface area, so you will get less kaymak.
- Do not stir once the milk and cream are heating. Stirring breaks the layer as it forms.
- Keep the heat low. You want gentle bubbles around the edges, not a fast boil.
- Use full fat dairy. Whole milk and heavy cream are essential for getting a thick enough layer.
- Chill the pan overnight. Do not rush this step, as the layer needs time to firm up before you lift it.
- Lift the kaymak slowly. Start at one edge and slide the skimmer underneath gently. It is fine if the layer folds or breaks a little.
- Use the remaining liquid for the second batch. You can also use any leftover dairy liquid in pancakes, bread dough, rice pudding, cakes, or mashed potatoes.
Common Problems and How to Fix Them
My Kaymak Did Not Form a Thick Layer
The pan may have been too narrow, the heat may have been too high, or the dairy may not have had enough fat.
Use a wider pan next time and keep the heat low. Check that the cream contains at least 35% fat and use whole milk.
My Milk and Cream Boiled Too Hard
Turn the heat down straight away. You only need gentle bubbles around the edge of the pan.
A fast boil can affect the texture and stop the layer from forming properly.
My Kaymak Is Too Soft
It may need more chilling time or longer in the sieve.
Keep it covered in the refrigerator until it is firm enough to scoop. It should be soft, but it should not run like liquid cream.
My Kaymak Is Too Firm After Chilling
This is normal. Kaymak firms up in the refrigerator because of its fat content.
Take it out 10 to 15 minutes before serving. It will soften slightly and spread more easily.
How to Serve Turkish Kaymak
The simplest way to serve kaymak is with honey and bread. This is called bal kaymak, and it is a popular Turkish breakfast combination.
Serve it with Turkish Simit, Paskalya Coregi, Acma Bread, or warm toast. You can also add jam, grape molasses, or walnuts.
Kaymak is also very good with Turkish desserts. Try it with Katmer, Revani - Turkish Semolina Cake, Homemade Turkish Baklava, and Irmik Helvasi (Turkish Semolina Halva).
For a simple dessert, spoon it over fresh figs, apricots, strawberries, peaches, or poached quince. A little honey and chopped pistachios work very well on top.
Make Ahead and Storage
Kaymak is best on the day you make it or the following day.
Keep it in a clean airtight container in the refrigerator and use it within 2 days. Take out only the amount you plan to serve, then return the rest to the refrigerator.
Do not leave kaymak sitting at room temperature for long periods.
I do not recommend freezing kaymak. It can become grainy and lose its smooth texture after thawing.
Recipe FAQs
Yes, you can make kaymak with milk from other animals. However, the consistency and taste may differ from kaymak made with cow's milk.
You can make a thick cream using only heavy cream, but it will not have the same texture as this milk and cream kaymak recipe.
The milk keeps the finished kaymak softer, while the cream gives it enough fat to form a thick layer.
Yes. Use it for the second batch first.
Any liquid left after that can be used in pancakes, bread dough, rice pudding, cakes, soups, sauces, or mashed potatoes.
Related Recipes
For more delicious spread&sauce recipes why not try:


Did you make this recipe? Please let me know how it turned out! Leave a comment below and tag @cookingorgeous on Instagram and hashtag it #cookingorgeous.
I hope you enjoy the process of making this deliciously rich and creamy Turkish Kaymak as much as you enjoy eating it! 🙂
Want to Save This Recipe?
Enter your email & I'll send it to your inbox. Plus, get great new recipes from me every week!
By submitting this form, you consent to receive emails from Cooking Gorgeous

Turkish Kaymak Recipe
Ingredients
- 22 fl oz full-fat milk (whole milk) (650 ml)
- 22 fl oz double cream, whipping cream or heavy cream (650 ml)
Instructions
- Pour the whole milk and heavy cream into a wide, heavy bottomed pan.
- Warm the mixture over medium heat until small bubbles appear around the edges. It should reach 175°F to 185°F, or 80°C to 85°C.
- Reduce the heat to very low. Leave the pan uncovered and do not stir.
- Let the milk and cream sit over the low heat for 2½ hours. A thick layer will slowly form on the surface.
- Remove the pan from the heat. Leave it to cool for up to 1 hour.
- Cover the pan and refrigerate it for at least 12 hours.
- Gently lift the thick layer from the surface using a skimmer, slotted spoon, or wide spatula.
- Place the kaymak in a fine mesh sieve set over a bowl. Cover and refrigerate until any extra liquid has drained away.
- Transfer the drained kaymak to an airtight container.
- Return the remaining milk and cream liquid to the pan and repeat the process to make a second, smaller batch.
- Fold the two batches together gently, or keep them separate. Refrigerate until ready to serve.
Notes
- Use whole milk and heavy cream with at least 35% fat. Low fat dairy will not produce a thick enough layer.
- A wide pan gives you more surface area and helps form a better layer of kaymak.
- Do not stir the milk and cream once it is heating. Stirring breaks the layer as it forms.
- Keep the heat low. Do not let the mixture boil hard.
- The first batch will be thicker than the second batch.
- The recipe takes around two days if you make both batches. Most of the time is hands off.
- Let the kaymak sit for 10 to 15 minutes before serving if it feels too firm straight from the refrigerator.
- Store in a clean airtight container in the refrigerator and use within 2 days.
- Do not freeze, as the texture can become grainy after thawing.

Lena says
Thank you for the recipe. Finally, I was able to prepare a Turkish Kaymak and have the experience of honey & kaymak on a bread. It's amazing!!!
Ayla Clulee says
Hi Lena,
That sounds wonderful! I’m so glad you tried it and enjoyed the honey and kaymak together on bread, it really is such a special treat.
Dana says
It was very simple to make and the detailed instructions were excellent. It turned out so good.