
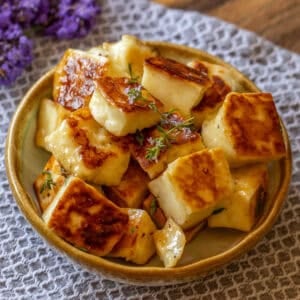
My Fried Halloumi recipe is quick, simple, and ready in less than 10 minutes. They turn golden in the pan, with crisp edges and a warm, chewy middle. Serve them straight away while they are still soft inside.
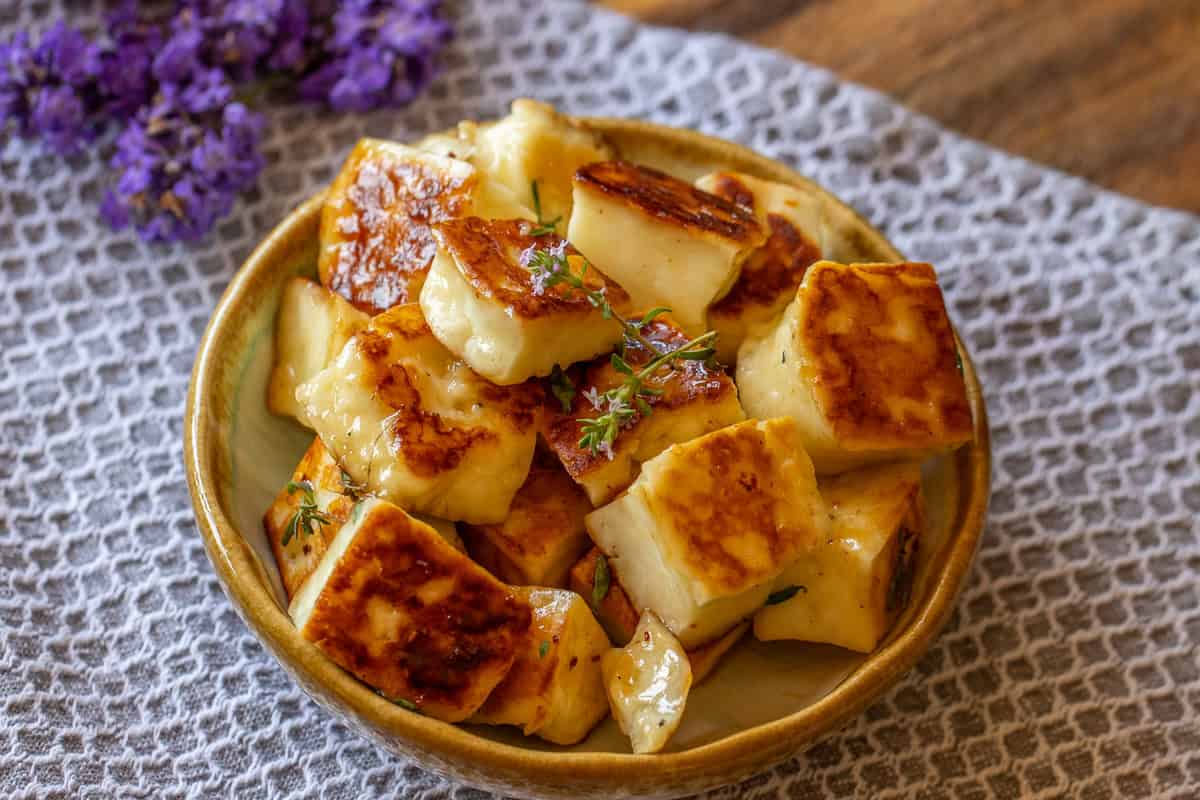
Halloumi is perfect for frying because it holds its shape instead of melting into the pan. I like to finish it with a little honey, fresh thyme, and chili flakes, which works beautifully with the salty cheese without making it too sweet.
Jump to:
- What Is Halloumi?
- Why This Recipe Works
- Ingredients You'll Need
- How to Make Fried Halloumi
- Recipe Tips From the Chef
- Why Is My Halloumi Watery in the Pan?
- Why Did My Halloumi Turn Rubbery?
- What to Serve with Fried Halloumi
- Variations
- Can I Make Fried Halloumi Ahead?
- Storage and Reheating
- Recipe FAQs
- Related Recipes
- Fried Halloumi
Serve it as an appetizer with watermelon, juicy tomatoes, or warm bread. It is also great tucked into wraps, served with eggs for breakfast, or added to a mezze platter with dips, olives, and salad.
What Is Halloumi?
Halloumi is a firm, brined cheese from Cyprus. It is usually made with sheep’s milk, goat’s milk, cow’s milk, or a mixture of them. It has a salty flavor and a slightly squeaky texture, especially before cooking.
The best thing about halloumi is how well it handles heat. It softens in the pan but keeps its shape, so you can fry it, grill it, or cook it on the barbecue. Once cooked, the outside turns golden and the middle becomes warm and chewy.
You can eat halloumi straight from the packet, but it tastes much better after a few minutes in a hot skillet. The saltiness becomes more balanced, the edges crisp up, and the texture is much nicer.
Why This Recipe Works
- This recipe takes less than 10 minutes, so it works well as a quick appetizer, breakfast side, or last-minute addition to a mezze spread.
- Frying gives halloumi a much better texture than eating it straight from the packet. The outside turns golden and slightly crisp, while the middle stays warm and chewy.
- The small drizzle of honey balances the saltiness of the cheese without making it taste sweet.
- Fresh thyme and chili flakes add flavor without covering up the taste of the halloumi.
- Shaking everything together in the pan gives the slices a light coating, so the honey and herbs do not just sit on top.
- You can serve it in many ways, with bread, eggs, tomatoes, watermelon, salads, wraps, or dips.
Ingredients You'll Need
Please scroll down to the recipe card below for the full ingredients list with measurements, complete recipe method, recipe notes, and nutritional information.
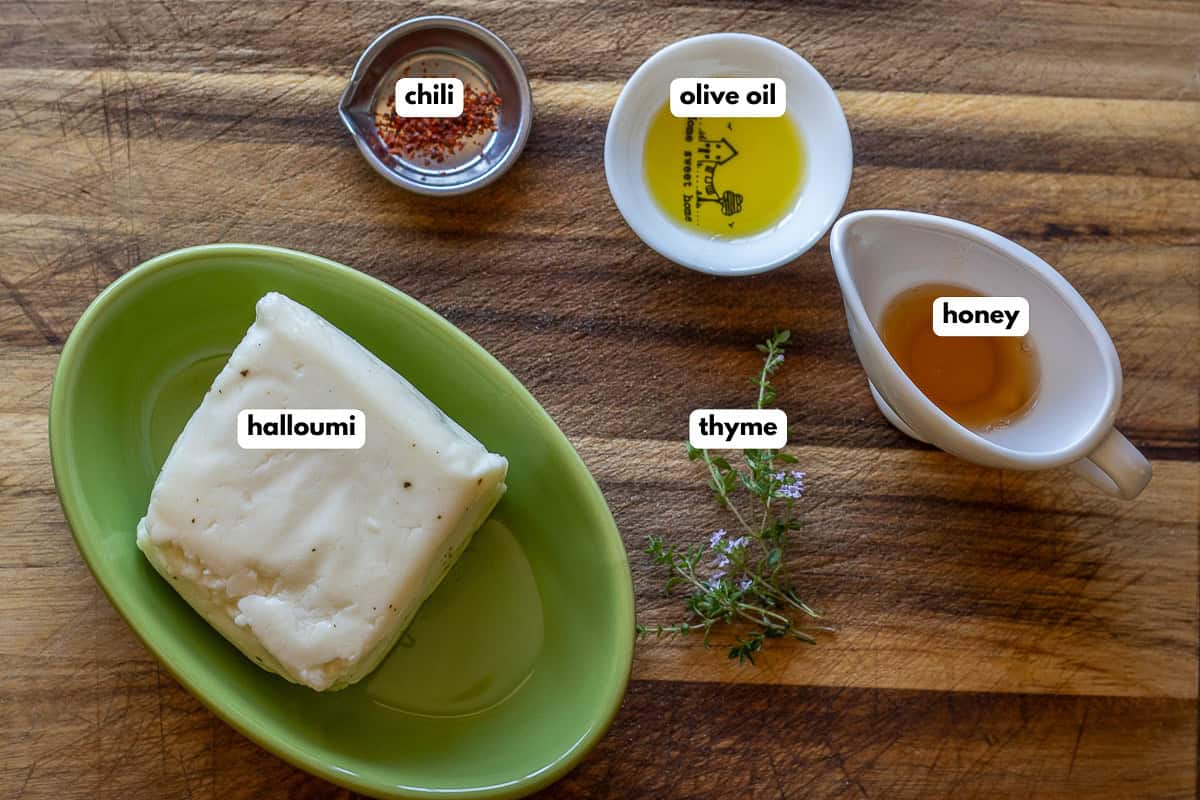
- Halloumi - Use one block of halloumi, about 8 ounces or 225 grams. Drain the brine and pat the cheese dry before slicing. Cut the halloumi into slices about ½ inch or 1 cm thick. If the slices are too thin, they cook too quickly and become too chewy. Thicker slices stay softer in the middle. Some halloumi is much saltier than others. If yours tastes too salty, soak the slices in cold water for 10 minutes, then dry them very well before frying.
- Olive oil - You only need 1 teaspoon of olive oil. It helps the halloumi brown evenly and gives the edges a better color. A nonstick skillet is the easiest pan to use. A well-seasoned cast iron skillet also works, but make sure it is hot before adding the cheese.
- Honey - Use 1 teaspoon of honey to finish the fried halloumi. This small amount is enough to balance the salty cheese without making the dish too sweet. Add the honey after the halloumi is cooked. If you add it to the pan too early, it can catch and turn bitter.
- Fresh thyme - Use a few small stalks of fresh thyme and pick off the leaves. Fresh thyme has a gentle, earthy flavor that works well with halloumi. I would not use dried thyme here. It tastes stronger and can feel a little dusty on top of the cheese. If you do not have fresh thyme, use a little fresh mint, oregano, or parsley instead.
- Chili flakes - A small pinch of chili flakes or pul biber gives the halloumi a little heat.
How to Make Fried Halloumi
Remove the halloumi from the packet and drain off the brine.
Pat the block dry with paper towels. This helps the cheese brown faster and reduces spitting in the pan.
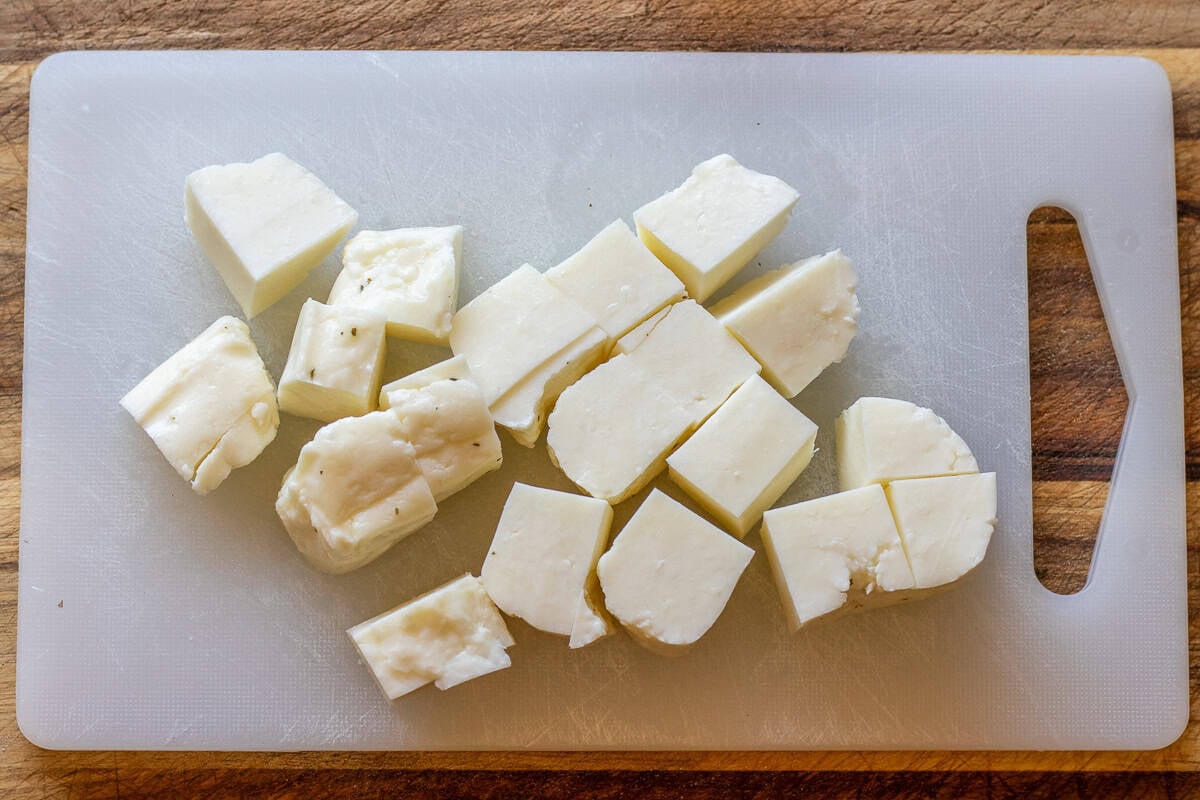
Cut the halloumi into bite sized cubes, about ¾ inch or 2 cm.
Heat 1 teaspoon of olive oil in a nonstick skillet over medium high heat.
Place the halloumi slices in the skillet in a single layer. Leave a little space between each piece so the cheese can fry instead of steam.
Fry for 2 to 3 minutes, turning the cubes now and then, until they are golden on several sides. Halloumi can release a little liquid first, especially if it has been sitting in a lot of brine. Let that moisture cook off, and the cheese will start to color.
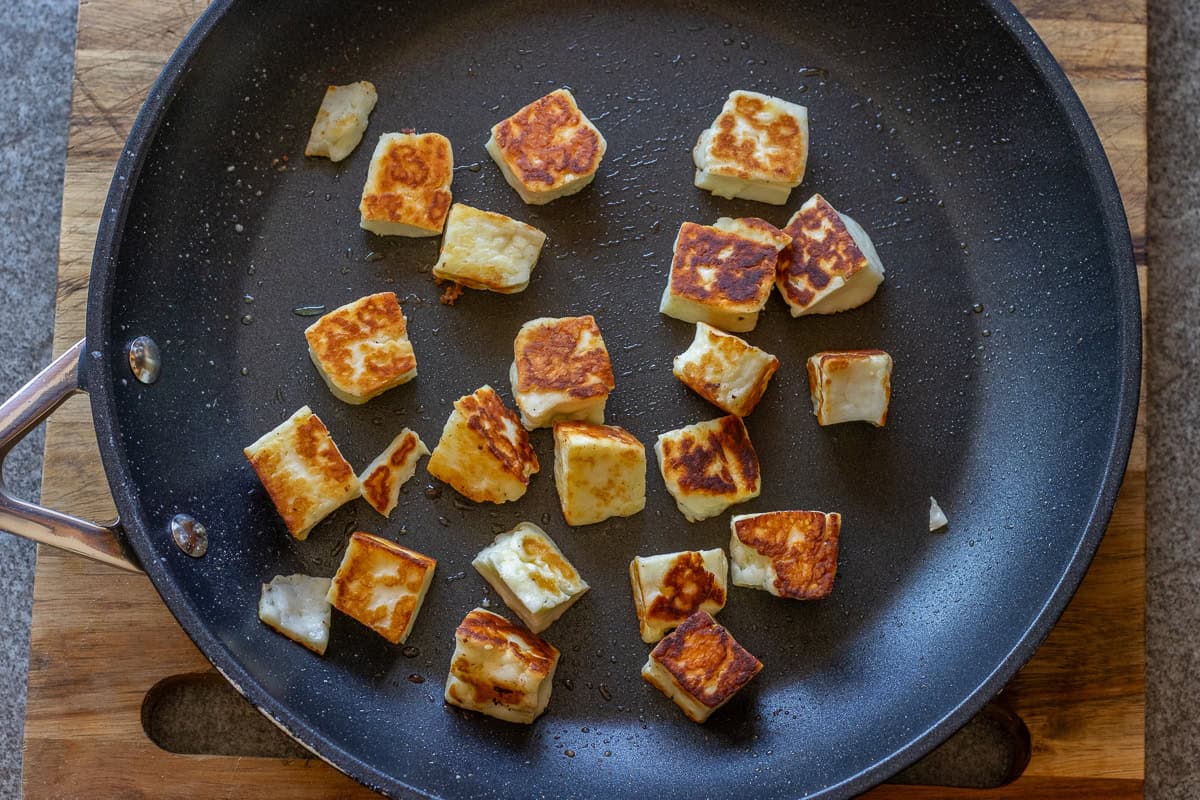
Once all sides are golden, drizzle the honey over the halloumi while the slices are still in the pan.
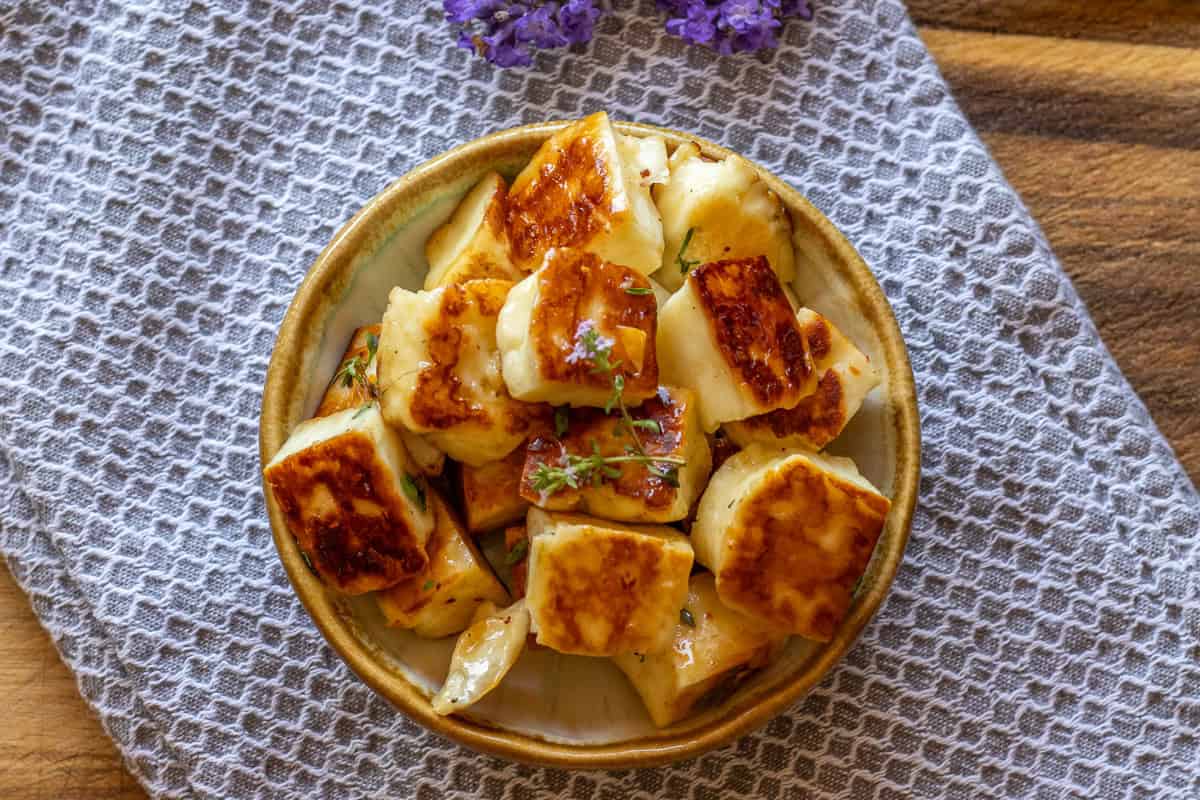
Add the fresh thyme leaves and chili flakes. Give the pan a gentle shake so the halloumi gets lightly coated in the honey, thyme, and chili.
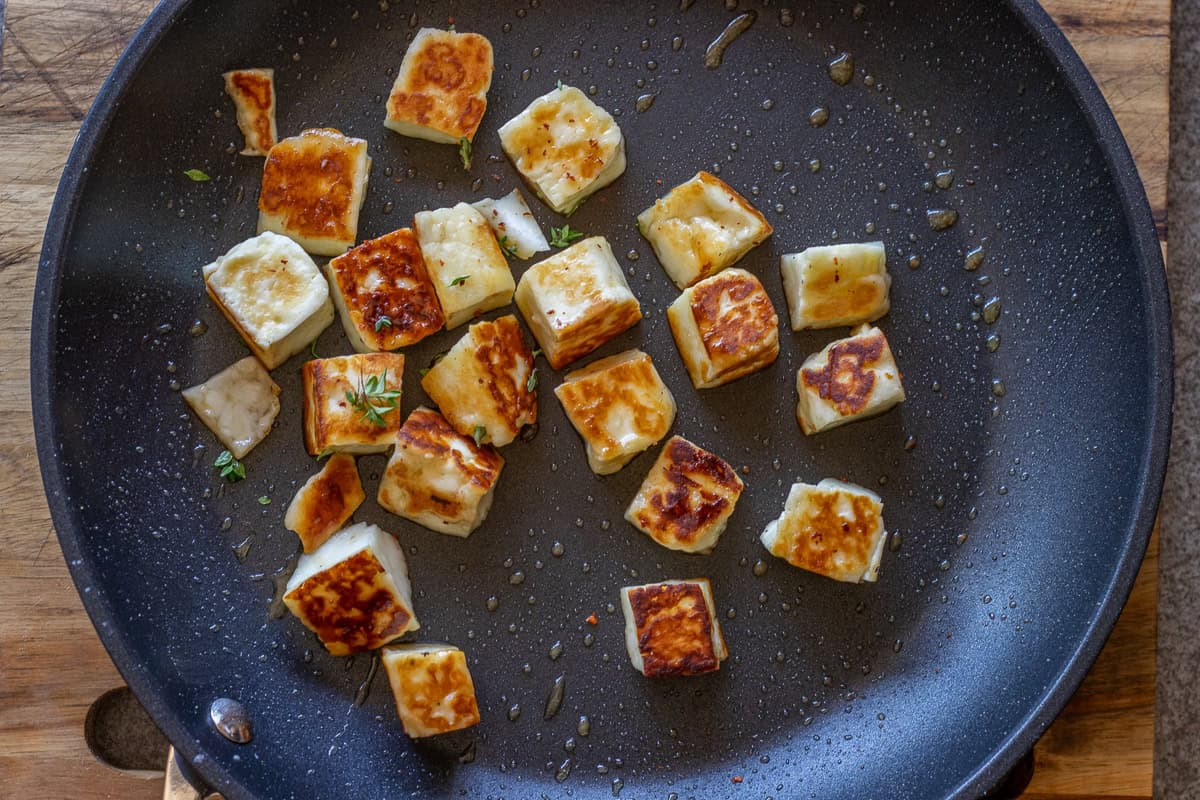
Transfer the fried halloumi cubes to a serving plate and serve straight away.
Recipe Tips From the Chef
- Pat the halloumi dry before frying. Wet halloumi will steam first and take longer to turn golden.
- Do not add salt. Halloumi is stored in brine and is already salty.
- Use medium high heat. If the heat is too low, the cheese warms through before the outside has time to brown.
- Do not crowd the skillet. If the pan is too full, the cubes release moisture and steam instead of frying.
- Leave the cheese alone for the first minute. Moving them too soon can stop a golden crust from forming.
- Add the honey, thyme leaves, and chili flakes at the end. They only need a short time in the hot pan.
- Shake the pan gently after adding the honey, thyme, and chili. This coats the cubes without breaking them.
- Serve fried halloumi straight away. It firms up as it cools and the texture becomes chewier.
Why Is My Halloumi Watery in the Pan?
Halloumi is packed in brine, so it can release a little liquid when it hits the hot pan. This is normal.
Patting the cheese dry helps, but some brands still release more moisture than others. Keep the pan hot and give the liquid time to cook off. Once the moisture evaporates, the halloumi will start to brown.
If the pan fills with liquid and the cheese will not color, the heat may be too low or the pan may be too crowded.
Why Did My Halloumi Turn Rubbery?
Halloumi firms up as it cools. That is why it tastes best straight from the pan.
It can also turn rubbery if it is cooked too slowly. Use medium high heat and fry it briefly on both sides. You want the outside golden before the middle dries out.
Very small cubes can become chewy quickly, so keep them bite sized rather than tiny.
What to Serve with Fried Halloumi
Serve fried halloumi as a simple appetizer with warm bread, Zeytoon Parvardeh - Persian Marinated Olives, cucumber, and tomatoes.
It works beautifully with watermelon in summer. The sweet fruit balances the salty cheese.
Add it to a breakfast plate with eggs, tomatoes, cucumber, olives, and warm bread.
Tuck the slices into wraps with salad, roasted peppers, Pickled Cucumber - Salatalik Tursusu, and Shawarma White Sauce.
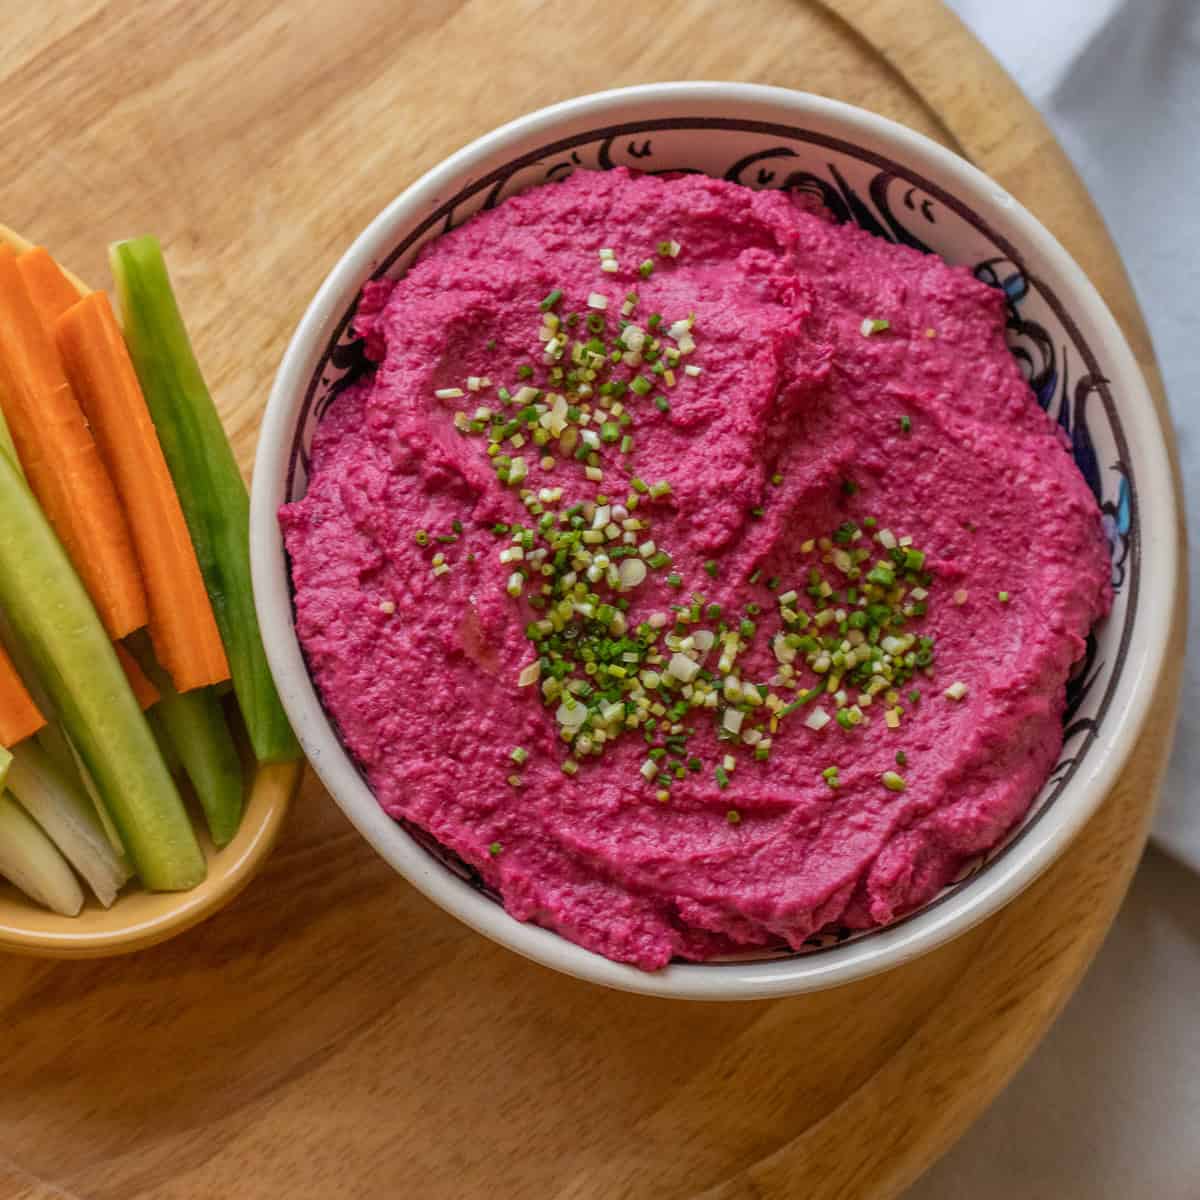
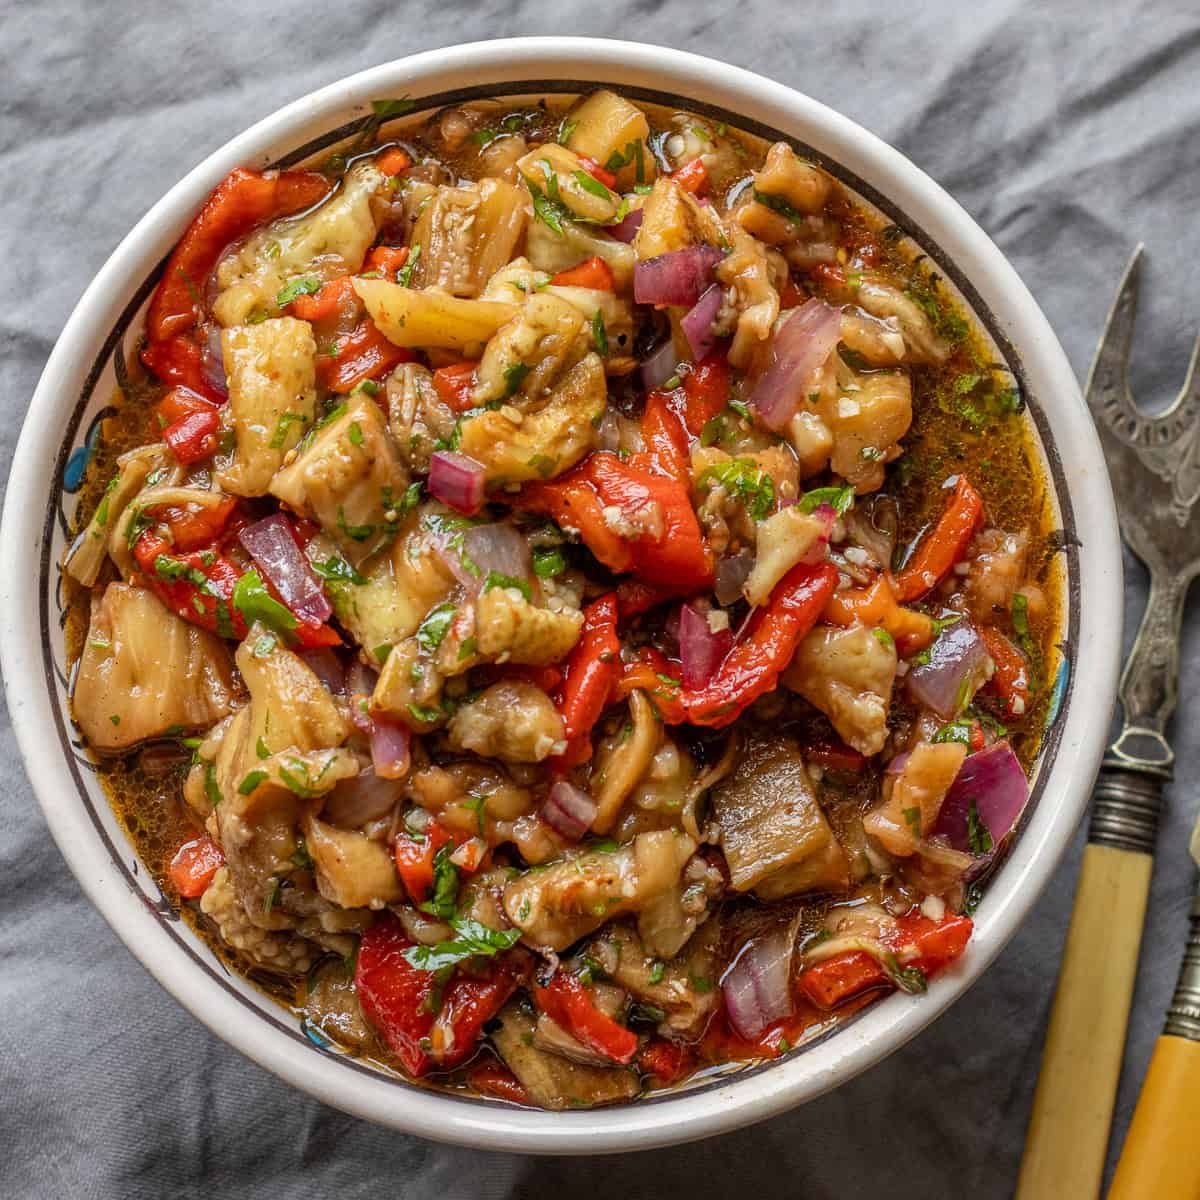
Serve it as part of a mezze platter with Beet Hummus, Baba Ganoush, Homemade Labneh, and Pita Bread.
Add it to grain bowls with Bulgur Rice Pilaf, couscous, Turkish Rice, Mediterranean Roasted Vegetables, or chickpeas.
Use it on salads with tomatoes, cucumber, herbs, red onion, and a lemony dressing.
Variations
For lemon fried halloumi, squeeze a little lemon juice over the cubes just before serving.
For sesame halloumi, sprinkle toasted sesame seeds over the cheese after shaking it with honey.
For nutty halloumi, scatter over chopped pistachios, walnuts, or almonds before serving.
For salad halloumi, keep the cubes slightly smaller so they mix easily with chopped vegetables and herbs.
Can I Make Fried Halloumi Ahead?
Fried halloumi is best cooked just before serving. The texture changes as it cools, and it becomes firmer and chewier.
You can cut the halloumi into cubes ahead of time and keep them covered in the refrigerator. Pat them dry again before frying.
Storage and Reheating
Fried halloumi tastes best straight after cooking, so try to cook only what you need.
Store leftovers in an airtight container in the refrigerator for up to 3 days.
Reheat leftovers in a hot skillet for about 1 minute, shaking the pan now and then until the cubes are warm. You can also reheat them in an air fryer at 350°F or 180°C for 2 to 3 minutes.
Avoid the microwave if you can. It warms the cheese but makes the texture much chewier.
You can chop the cold leftover halloumi and add it to salads, wraps, or grain bowls.
Recipe FAQs
Yes, you can fry halloumi in a good nonstick skillet without oil.
I prefer using 1 teaspoon of olive oil because it helps the cubes brown evenly and gives them a better finish. It is a small amount, so the halloumi does not taste greasy.
Both work, but cubes give you more golden edges and are easier to toss with honey, herbs, and chili. Slices are better if you want larger pieces for sandwiches or breakfast plates.
You do not need to soak halloumi every time. If your halloumi tastes very salty, soak the cubes in cold water for 20 minutes, then dry them well before frying.
Related Recipes
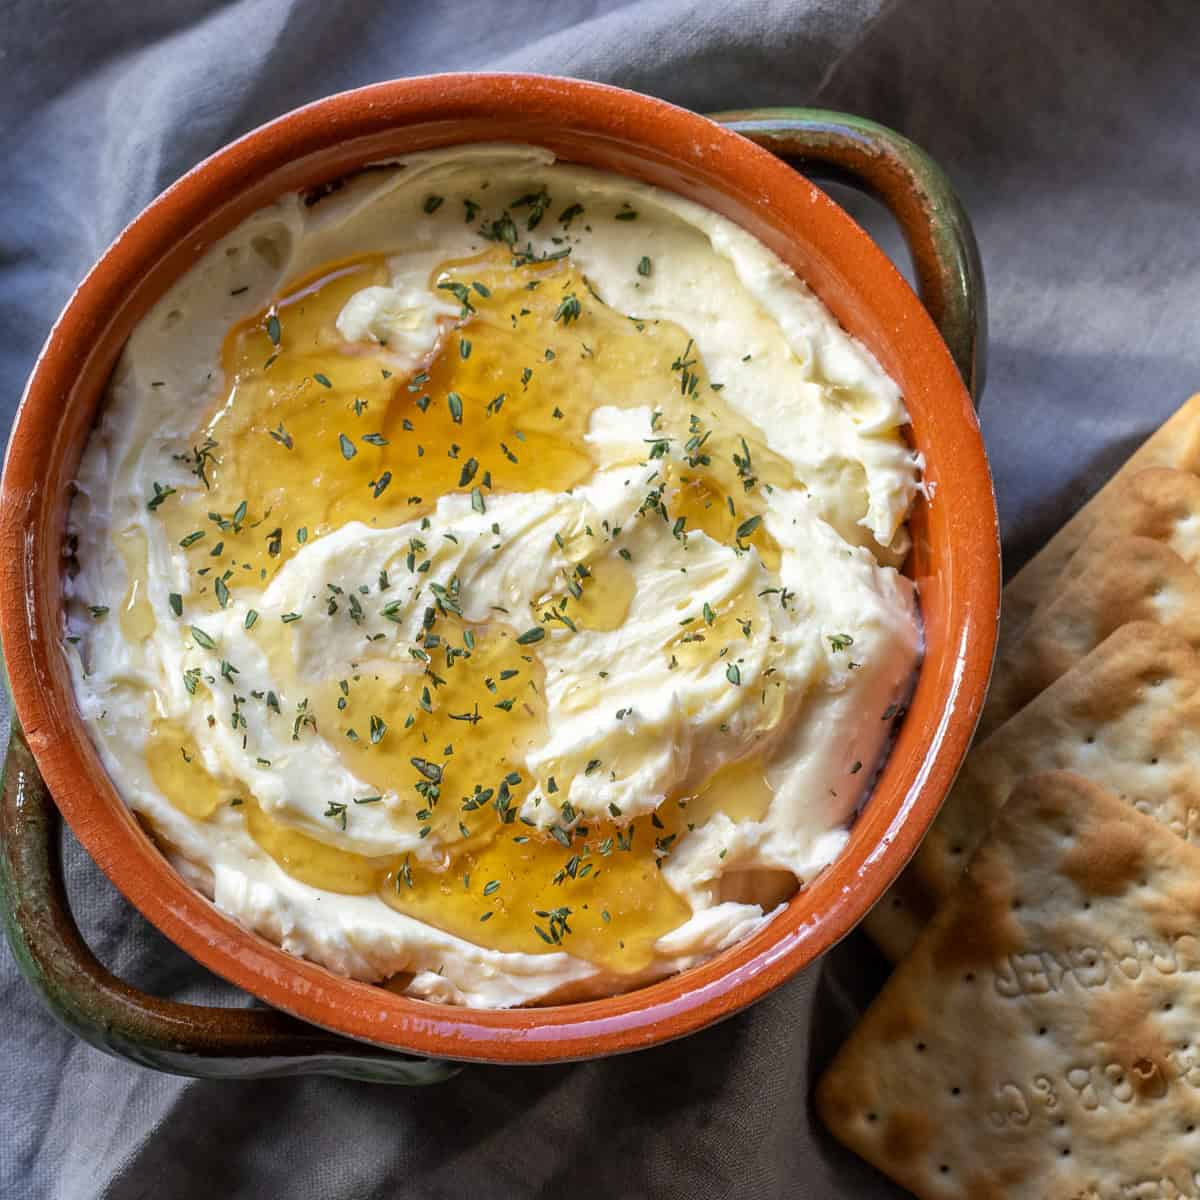
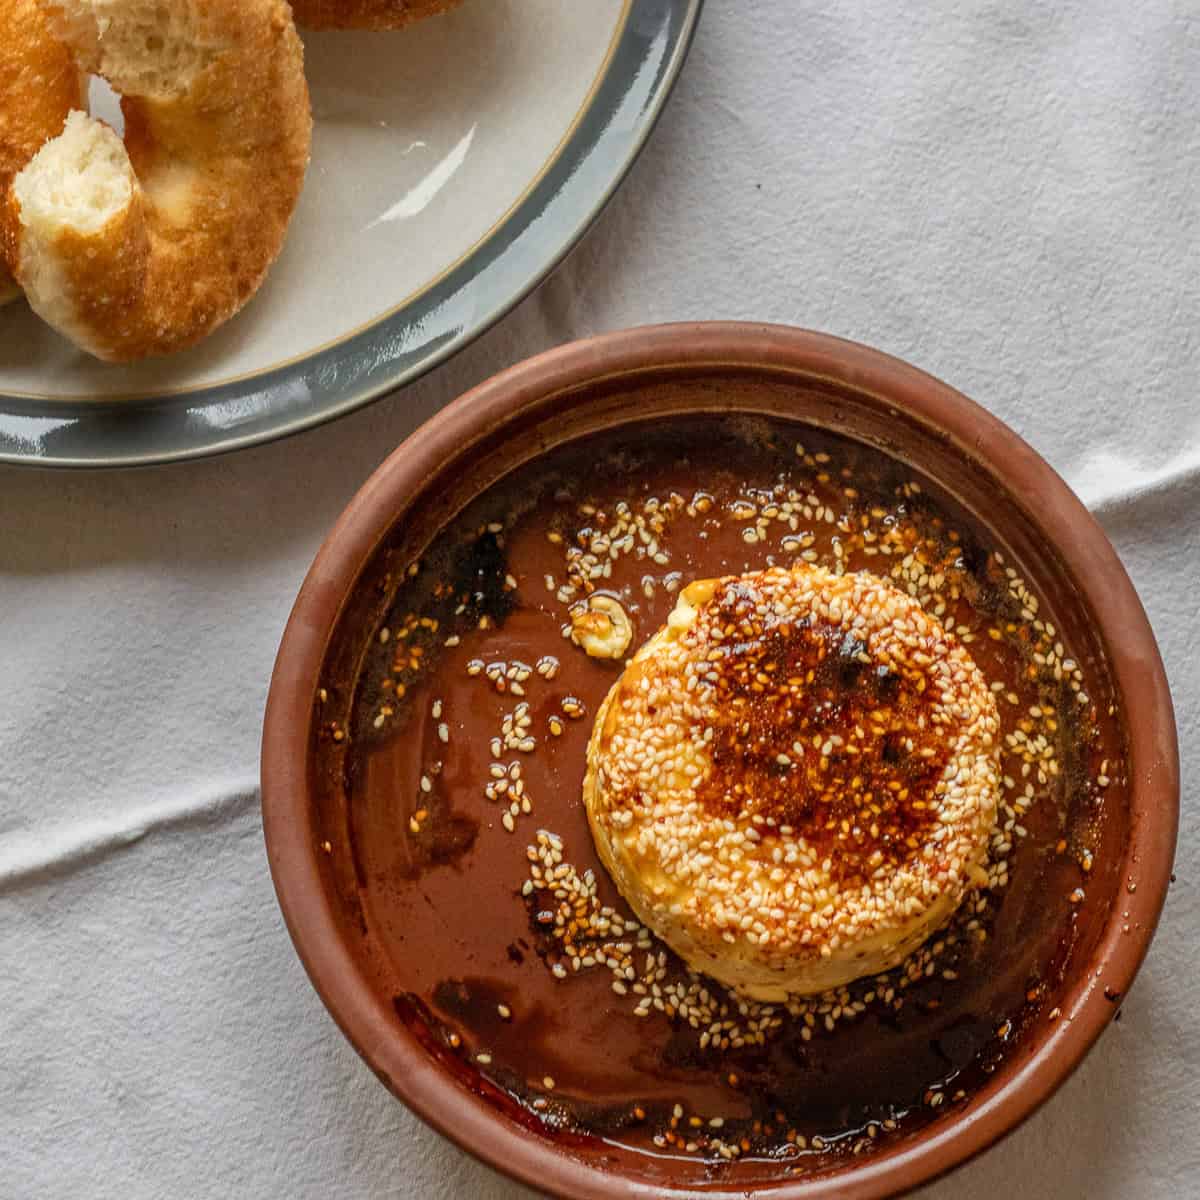
For more delicious cheese appetiser recipes, why not try:


Did you make this recipe? Please let me know how it turned out! Leave a comment below and tag @cookingorgeous on Instagram and hashtag it #cookingorgeous.
I hope you enjoy the process of making this delicious Fried Halloumi as much as you enjoy eating it! 🙂
Want to Save This Recipe?
Enter your email & I'll send it to your inbox. Plus, get great new recipes from me every week!
By submitting this form, you consent to receive emails from Cooking Gorgeous
Fried Halloumi
Ingredients
- 8 oz halloumi cheese (225 g)
- 1 teaspoon olive oil
- 1 teaspoon honey
- 3 stalks fresh thyme, leaves picked
- 1 pinch chili flakes
Instructions
- Remove the halloumi from the packet and drain off the brine. Pat the block dry with paper towels.
- Cut the halloumi into bite sized cubes, about ¾ inch or 2 cm.
- Heat 1 teaspoon of olive oil in a nonstick skillet over medium high heat. Add the halloumi cubes to the skillet in a single layer.
- Fry for 2 to 3 minutes, turning the cubes now and then, until they are golden on several sides.
- Drizzle the honey over the halloumi while the cubes are still in the pan.
- Add the fresh thyme leaves and chili flakes. Give the pan a gentle shake so the cubes get lightly coated in the honey, thyme, and chili.
- Transfer the fried halloumi to a serving plate and serve straight away.
Notes
- Do not add salt. Halloumi is already salty because it is stored in brine.
- Pat the halloumi dry before frying. This helps the cubes brown faster and stops too much moisture collecting in the pan.
- Cut the halloumi into similar sized cubes so they cook evenly. Around ¾ inch or 2 cm is a good size.
- Use medium high heat. If the heat is too low, the cheese warms through before the outside has time to turn golden.
- Let the cubes brown before moving them too much. Turn them now and then, but do not stir constantly.
- Add the honey at the end. It only needs a few seconds in the hot pan to coat the halloumi.
- If your halloumi tastes too salty, soak the cubes in cold water for 20 minutes, then pat them very dry before frying.
- Serve fried halloumi straight away. It firms up as it cools and becomes chewier.
- Leftovers can be kept in an airtight container in the refrigerator for up to 3 days.
- Reheat them in a hot skillet for about 1 minute, shaking the pan now and then, or in an air fryer at 350°F or 180°C for 2 to 3 minutes.
- Avoid reheating fried halloumi in the microwave if you can, as it makes the texture much chewier.


Paula says
Golden, salty, and ready in minutes. My new favorite snack/breakfast!